
Distribute a game
If you've built your game in Release mode before, in your project folder (eg MyGame/Bin/MyPlatform/Release/), delete the Data folder. This folder might contain unnecessary files, such as old versions of assets, so it's simplest to build it again from scratch.
In the toolbar, click the drop-down menu and select Visual Studio.
Your project opens in Visual Studio.
- In Visual Studio, from the Solution Configurations drop-down menu, select Release.
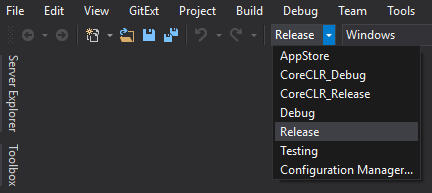
- From the Solution platforms drop-down menu, select the platform you want to create a build for.
Note
To build for Android or iOS, you need Xamarin, which is included with Visual Studio licenses. For instructions about how to install Xamarin with Visual Studio 2017, see this MSDN page.
- Under Build, select Build solution.
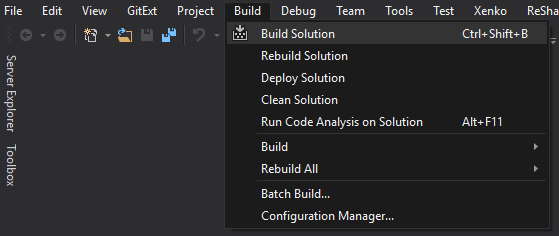
Visual Studio creates a release build in your project bin folder (eg MyGame/Bin/MyPlatform/Release).
Tip
You might want to rename the Release folder to something more descriptive (such as the title of your game).
In the release folder in your project bin folder (eg MyGame/Bin/MyPlatform/Release), you can delete the following unnecessary files:
files (debug information)
.xmlfiles (API documentation)other unnecessary files, such as custom configuration files (ie files not created with Xenko)
After you create a release build, how you distribute it is up to you.
To run games made with Xenko on Windows, users need:
.NET 4.6.1
DirectX11 (included with Windows 10 and later), OpenGL, or Vulkan
Visual C++ 2015 runtimes (x86 and/or x64, depending on what you set in your project properties in Visual Studio)

