
Navigation meshes
Navigation meshes form the area that entities with navigation components can navigate. Xenko creates a layer in the navigation mesh for each you create.
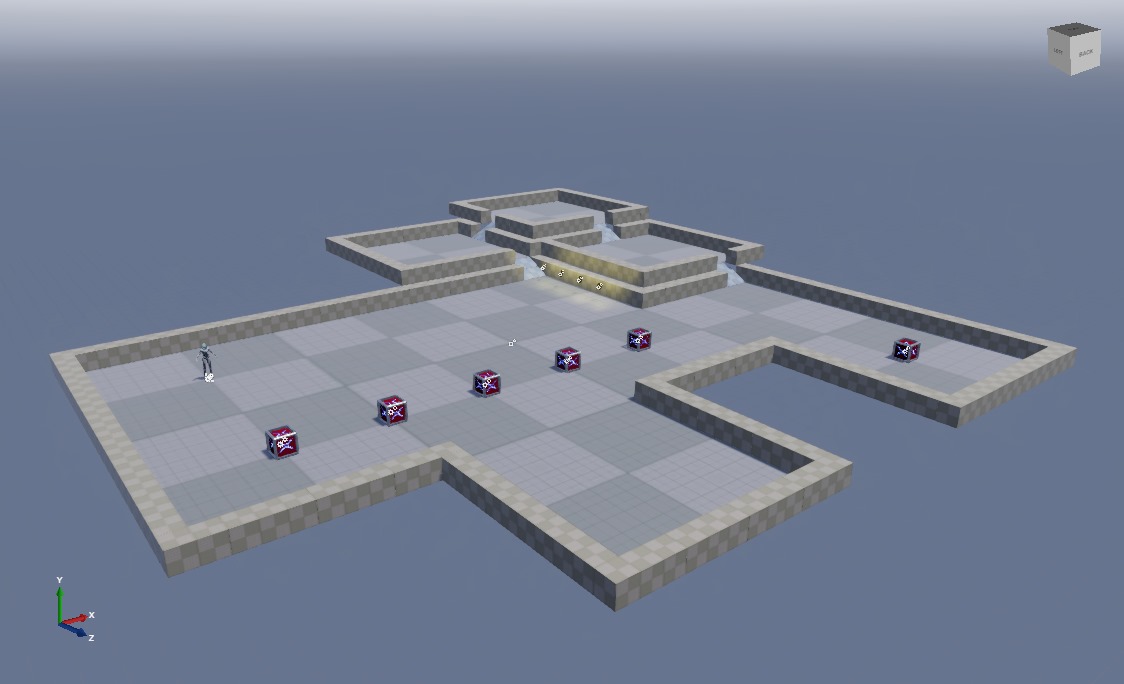
Game Studio displays navigation meshes as colored overlays in your scene. The overlay shows where entities in the navigation group for that layer can move. The mesh updates in real time as you edit your scene.
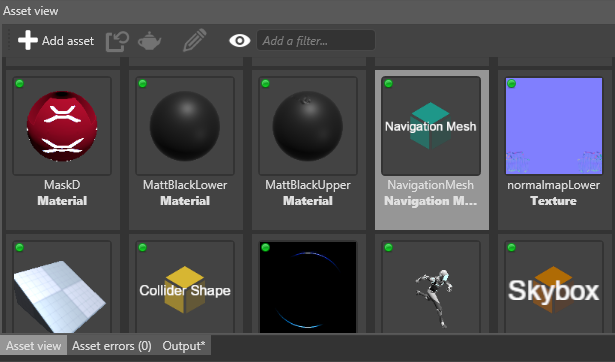
- In the Asset View (bottom by default), click Add asset > Scenes > Navigation mesh.
Game Studio adds a navigation mesh asset to your project.
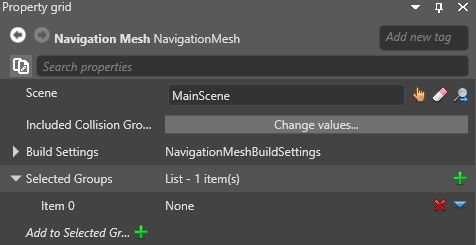
- With the navigation mesh selected in the Asset View, in the Property Grid, set the scene the navigation meshes in this asset apply to.
For more information about scenes, see Scenes.
Under Selected groups, click (Add).
Game Studio adds a new item to the list of groups.
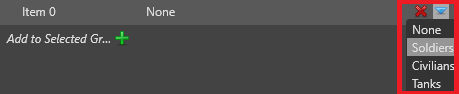
- Click (Replace) and choose a group from the drop-down menu.
Note
If you want to create a navigation mesh for a different scene, create another navigation mesh asset and select the scene in the asset properties.
Use the navigation visibility menu in the Scene Editor toolbar.
To show or hide layers belonging to different groups, use the checkboxes. The colored boxes indicate the color of the groups displayed in the Scene Editor.
| Navigation mesh hidden | Navigation mesh shown |
|---|---|
 |
These options have no effect on runtime behavior.

